Ingredients
Equipment
Method
Preparation Steps
- In a medium saucepan, combine 1 cup of water, 1 cup of distilled white vinegar, and 1 tablespoon of kosher salt. Heat over medium-high until the mixture reaches a gentle boil, stirring occasionally to help dissolve the salt. This brine is essential for your old fashioned dill pickles, so watch for the bubbling action, which takes about 5 minutes.
- Once the salt has fully dissolved, remove the saucepan from heat and allow the brine to cool to room temperature—this should take around 20 to 30 minutes. Cooling is crucial, as pouring hot brine onto cucumbers can result in a mushy texture, which we want to avoid for that satisfying crunch in your pickles.
- While the brine cools, take 2 to 3 medium cucumbers and rinse them thoroughly under cold water. Trim the ends and choose to cut them into spears or slices based on your preference.
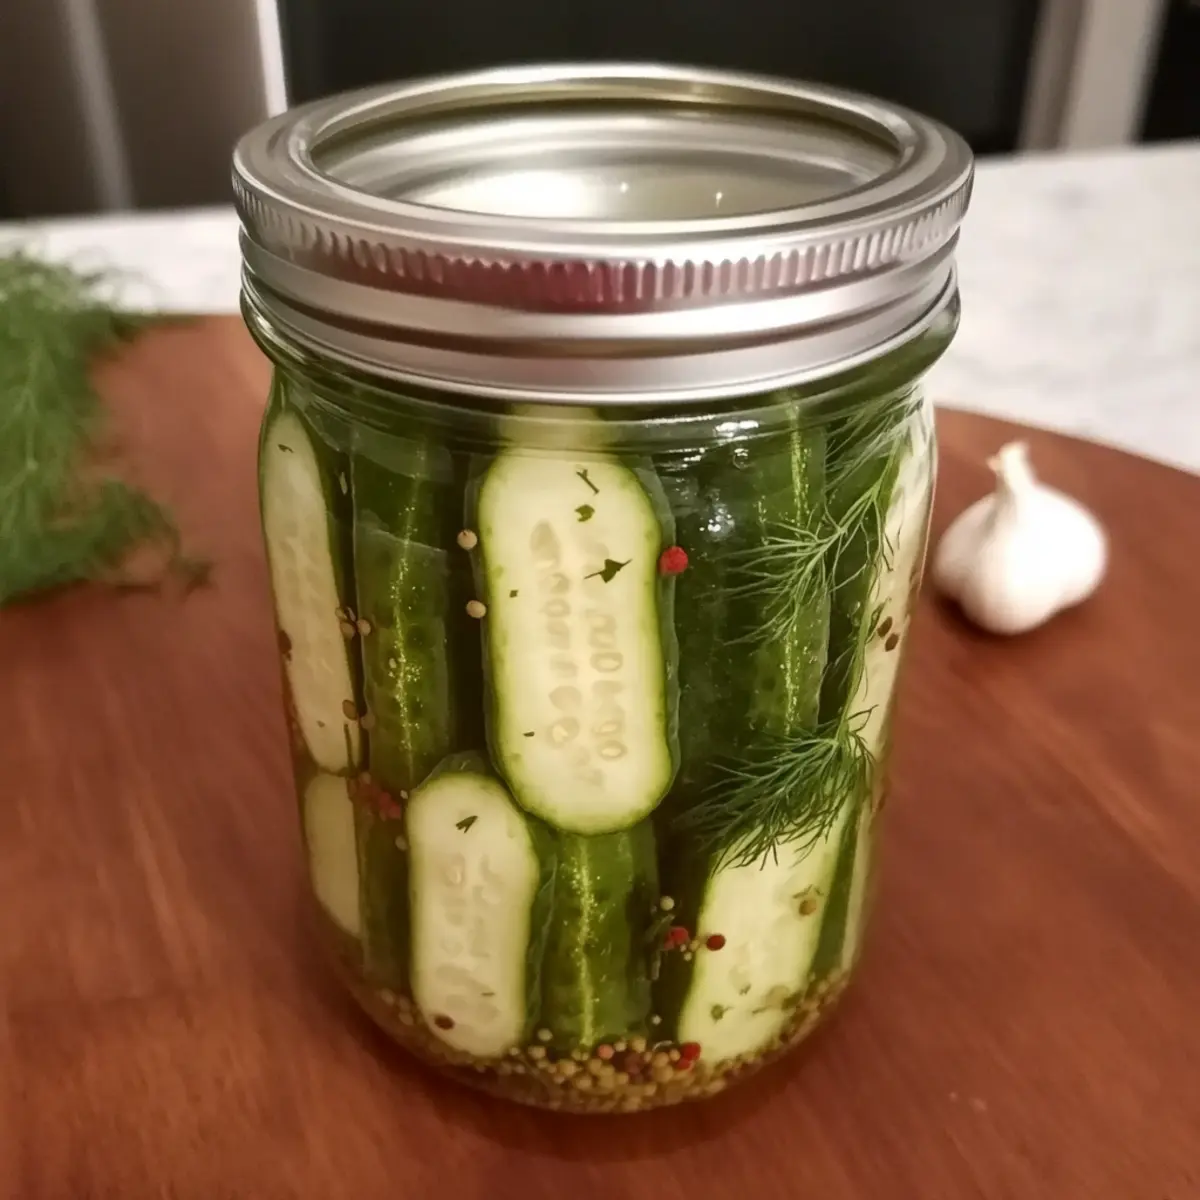
- In a clean quart-sized jar, start layering half of the garlic cloves (smashed), 5-6 sprigs of fresh dill, and a teaspoon of whole black peppercorns. Then, tightly pack the prepared cucumber spears into the jar.
- Top the packed cucumbers with the remaining garlic cloves and dill, ensuring a generous flavor. Carefully pour the cooled brine over the cucumbers, aiming for them to be completely submerged—this might be about half an inch above the cucumbers.
- Seal the jar tightly with a lid, making sure it’s secured. Place your jar in the refrigerator and allow the pickles to sit for at least 48 hours. For a bolder flavor, you can let them pickle for up to 5 days.
- After the waiting period, take a moment to unveil your homemade pickles. Pop open the jar and enjoy the sight of vibrant green, crunchy pickles.
Nutrition
Notes
Check the crunch after 48 hours. These pickles are best kept refrigerated and are good for up to 2 months if sealed correctly.